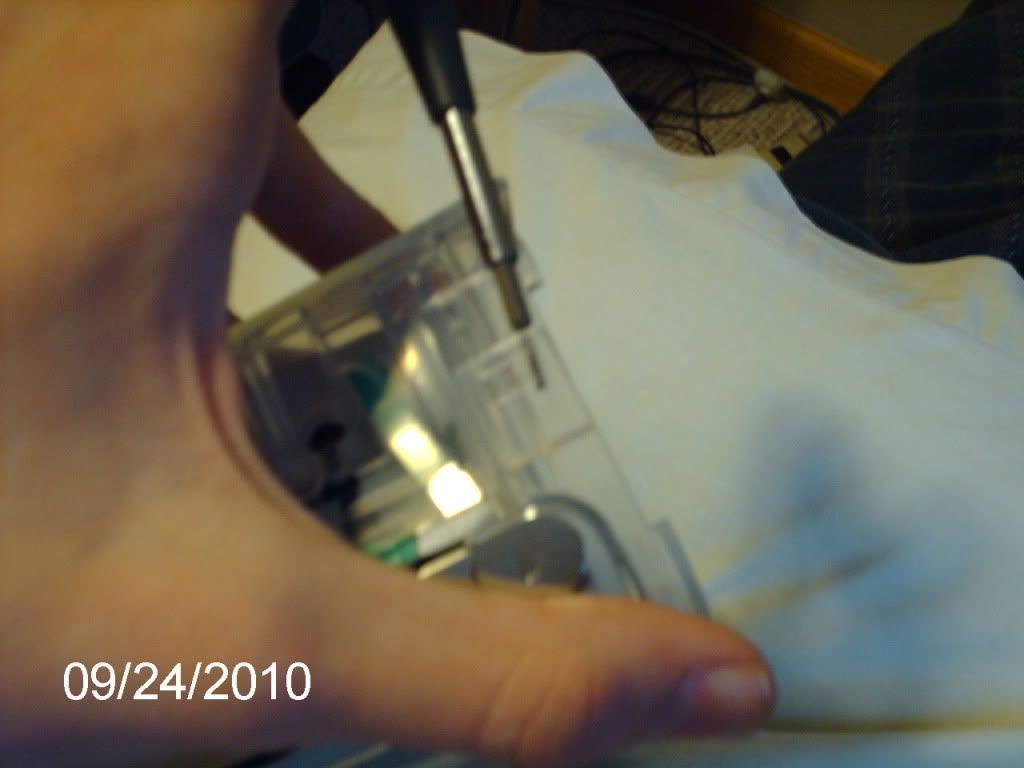
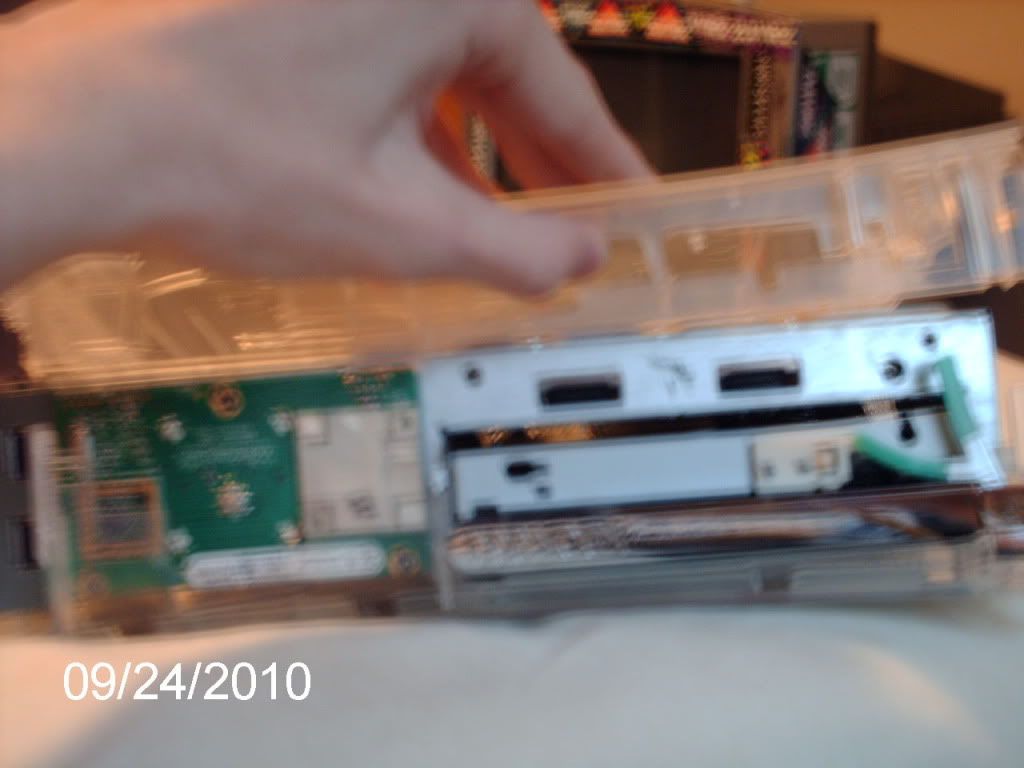
Follow along for all of the details.
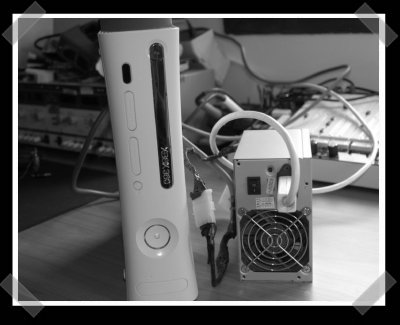
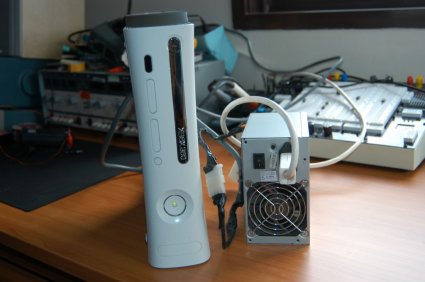
For anyone who is having problems with their Xbox 360 power supply, or who (like me) have managed to end up with a burnt out PSU and can’t get a replacement, here’s how I managed to run the console off a standard ATX computer power supply.
The added advantage for me, living in a 220V country and having bought a 110V console from Japan is that I no longer need a huge stepdown transformer to run my console.
I have been running my console off a 250W computer PSU for a week now with no problems – of course there are no guarantees and if you decide to do what I did I accept no responsibility for what happens, the only thing I know for sure is that it worked for me.
Here’s what I did:
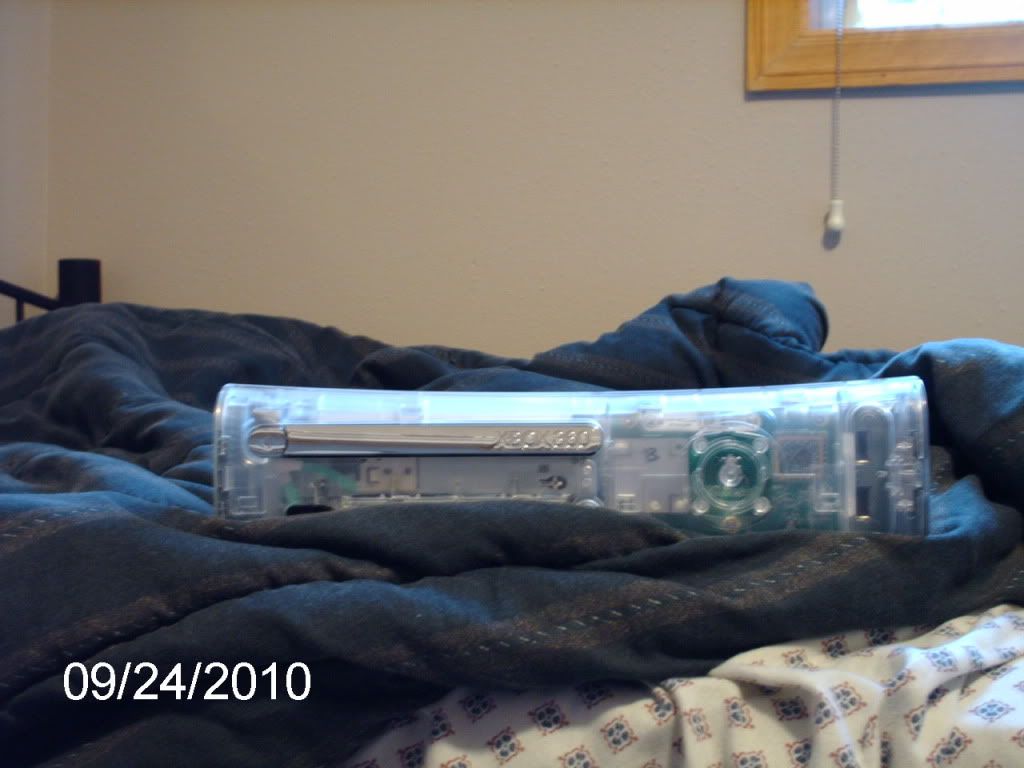
Cut the Cable
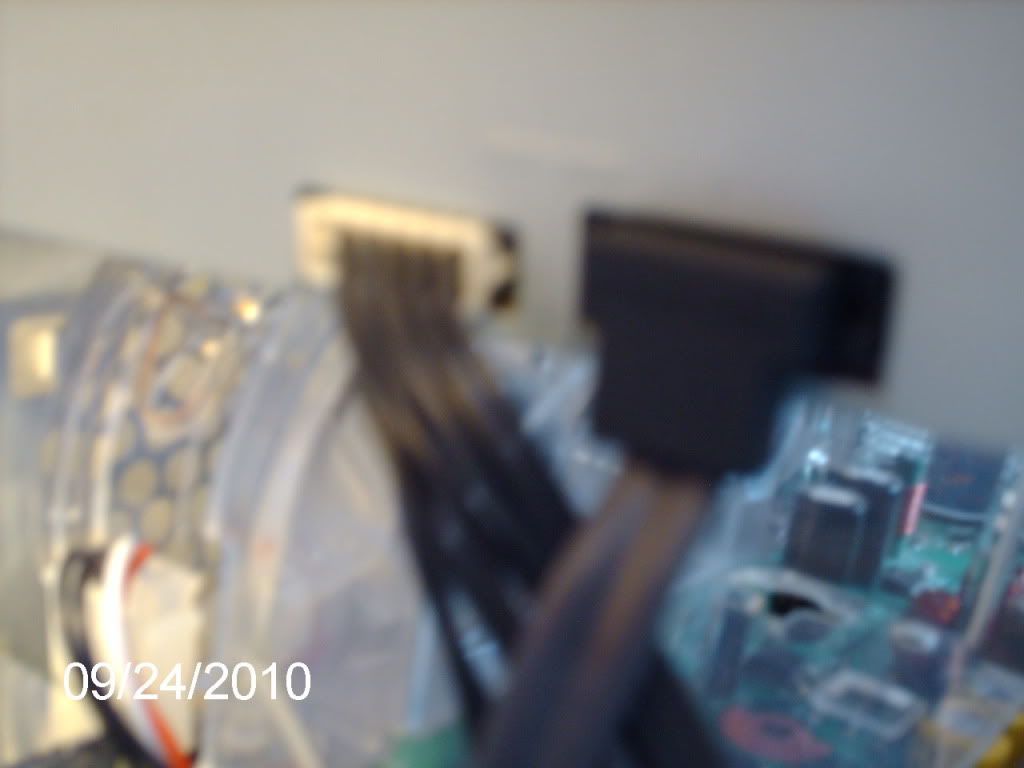
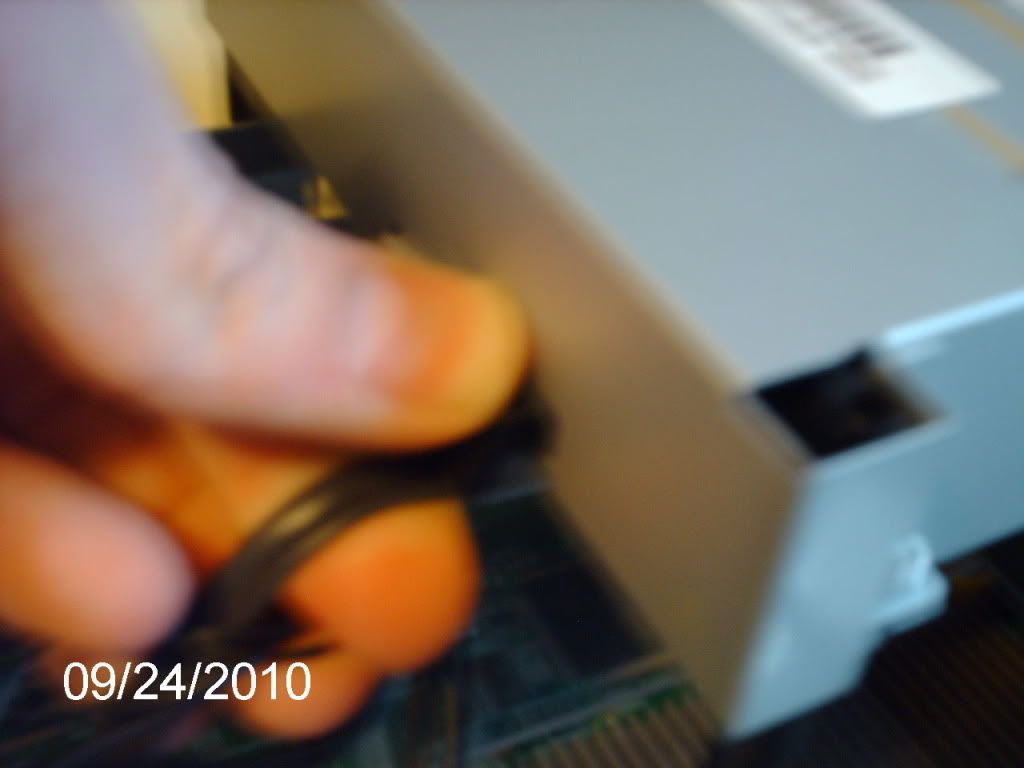
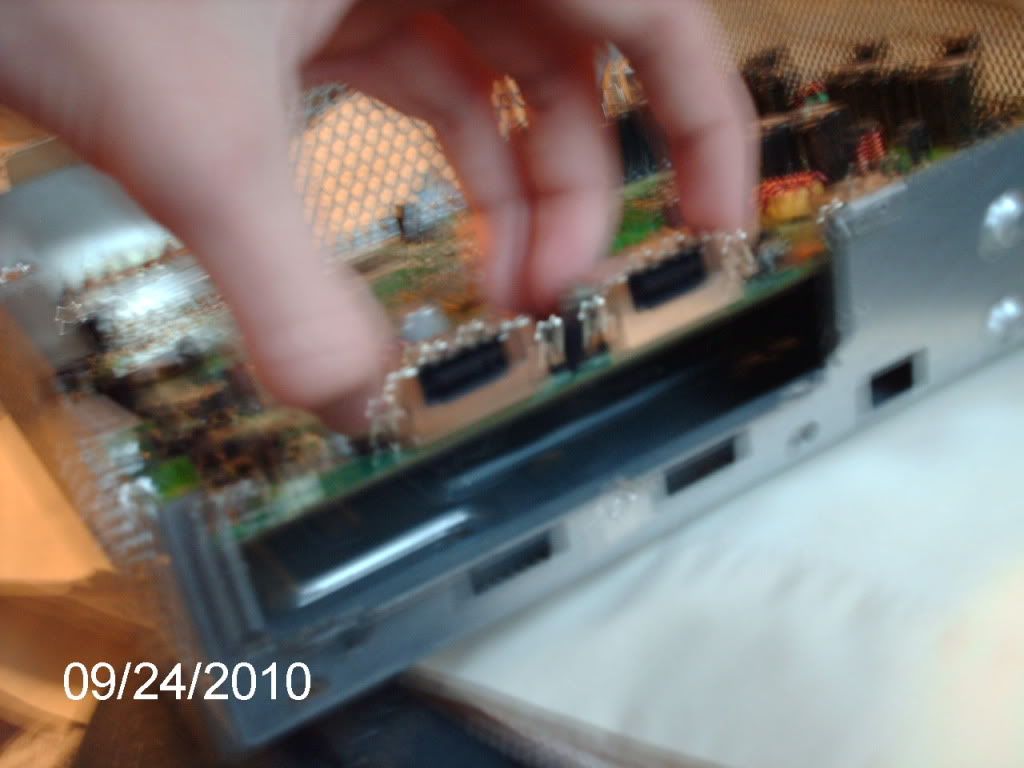
If you cut the Xbox power cable (I cut mine near the power supply to leave me with the maximum length of cable) and peel back the grey sleeve, the shielding and the internal black sleeve you will see 10 wires running through the cable. 4 Yellow, 4 Black, Red and Blue cut cable
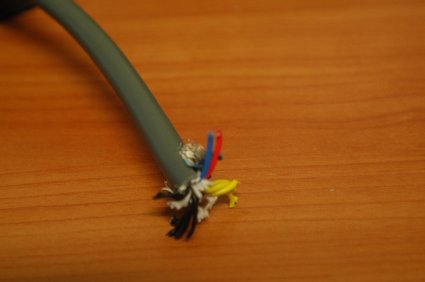
A quick continuity check showed that all the black wires were connected together as were all the yellow ones. The Xbox PSU says on it it produced 12V and 5V so I decided to be brave and assume that the color coding on the Xbox cable was the same as the one on an ATX (PC) power supply.
Connect It Up
Find an ATX power supply. The one I had was rated at 250W, the Xbox PSU says 203W on it – so I figured it should be ok.
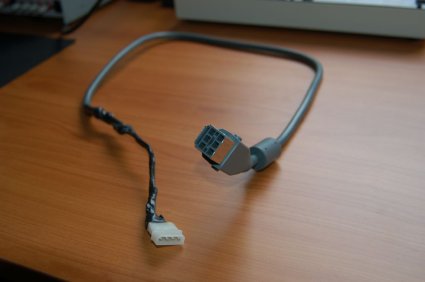
I cut the wires of one of the hard disk type connectors and connected them to the Xbox cable –

* Black to all the black wires from the Xbox cable
* Yellow to all the yellow wires from the Xbox cable
* Red to the red wire from the Xbox cable
Rig ATX Power Supply to Power Up
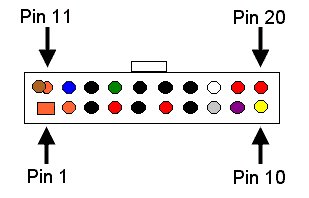
In order to get an ATX power supply to power up you have to connect pin 14 (the green wire) of the large ATX power connector to ground.
Cut the green wire from pin 14 and the ground (black) wire from pin 13 and connect them together.
Connect Cable to Xbox 360 and go..
Connected the power cable to the Xbox, power the PSU up and then the Xbox and you have a working xbox